How to connect Power BI to NetSuite as an ODBC data source.
Microsoft's Power BI is a business analytics service that allows end users to create reports and dashboards and connect to data from a number of sources, including NetSuite ERP. Users can visualize their NetSuite data in Power BI and greatly improve their reporting capabilities.
This article covers the steps to connect Power BI to a NetSuite data source using the CData ODBC Driver for NetSuite (2016).
Don’t have time? Read it later:

Important:
Before you can connect NetSuite to Power BI you need to download, install, and set up the CData ODBC Driver for NetSuite. (You can also download the NetSuite Power BI Connector).
Power BI Installation and Configuration
First, download the Power BI Desktop version:
https://www.microsoft.com/en-us/download/details.aspx?id=45331
Power BI Running Server Setup
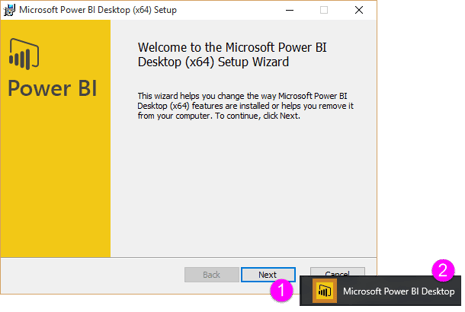
After you download the Power BI installation file, double-click the installation file, and follow the on-screen instructions to complete the setup and install the application. Regardless of which download method you choose, you will be prompted to run the installation file after Power BI Desktop is finished downloading.

Power BI Desktop is installed as an application and runs on your desktop.
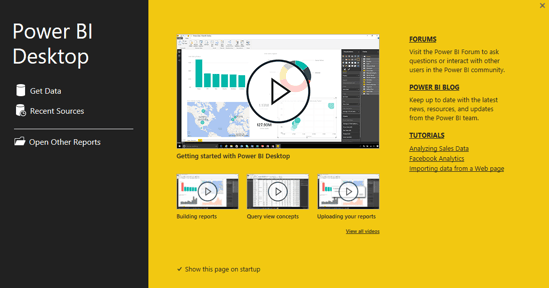
When you launch Power BI Desktop, a Welcome screen is displayed.
If you haven't already, first specify connection properties in an ODBC DSN (data source name). This is the last step of the driver installation. You can use the Microsoft ODBC Data Source Administrator to create and configure ODBC DSNs.
The User and Password properties, under the Authentication section, must be set to valid NetSuite user credentials.
In addition, the Account ID must be set to the ID of a company account that can be used by the specified User. The Role ID can be optionally specified to log in to the user with limited permissions.
Refer to the Getting Started chapter of the help documentation for more information on connecting to NetSuite.
After creating a DSN, follow the steps below to connect to the NetSuite DSN from Power BI Desktop.
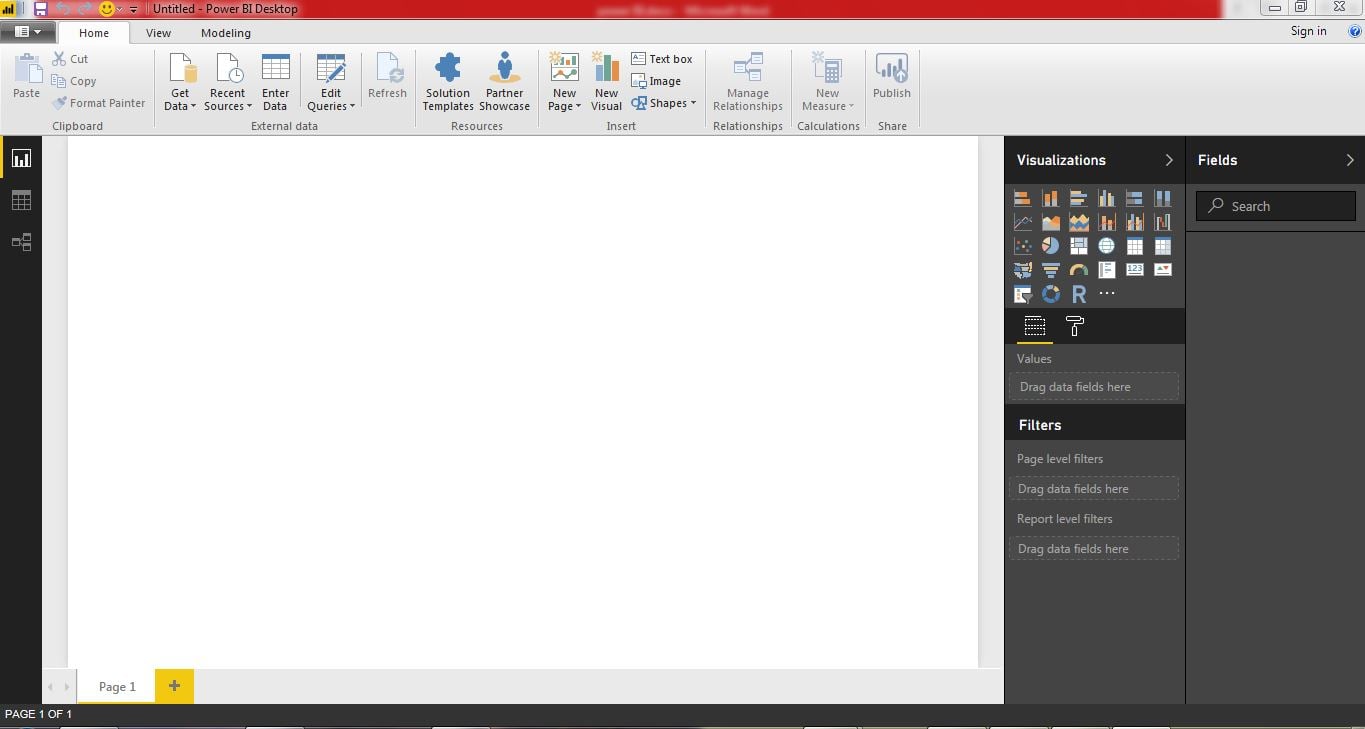
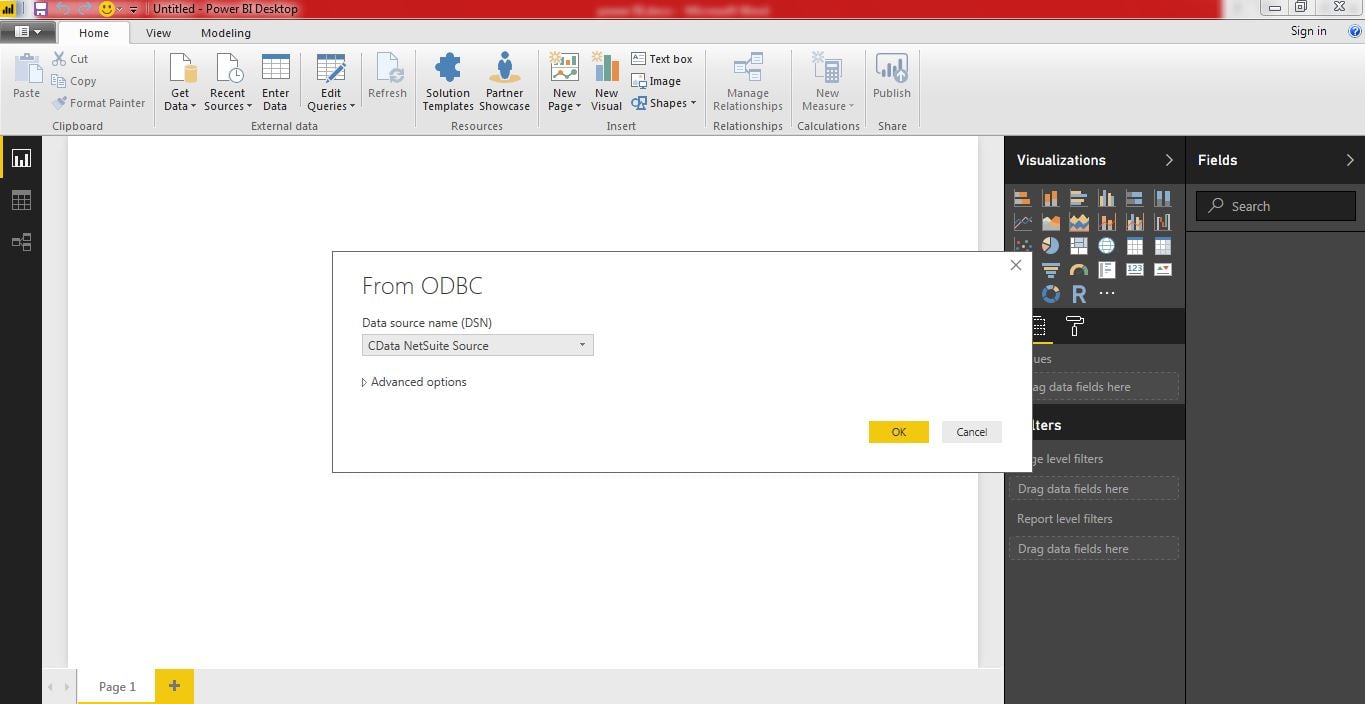
Step 1 — Open Power BI Desktop > click Get Data > ODBC.
To start Power BI Desktop from powerbi.com, click the download button, then click Power BI Desktop.
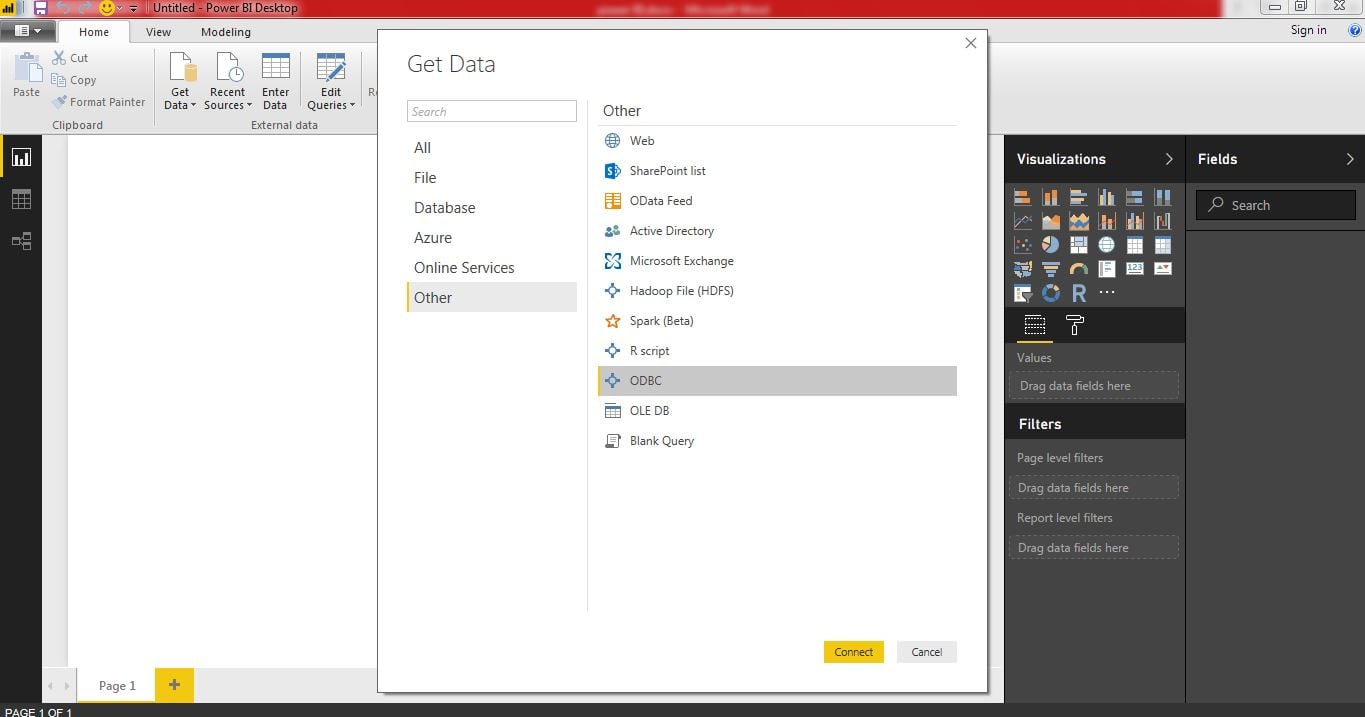
Step 2 — Select the DSN in the menu.
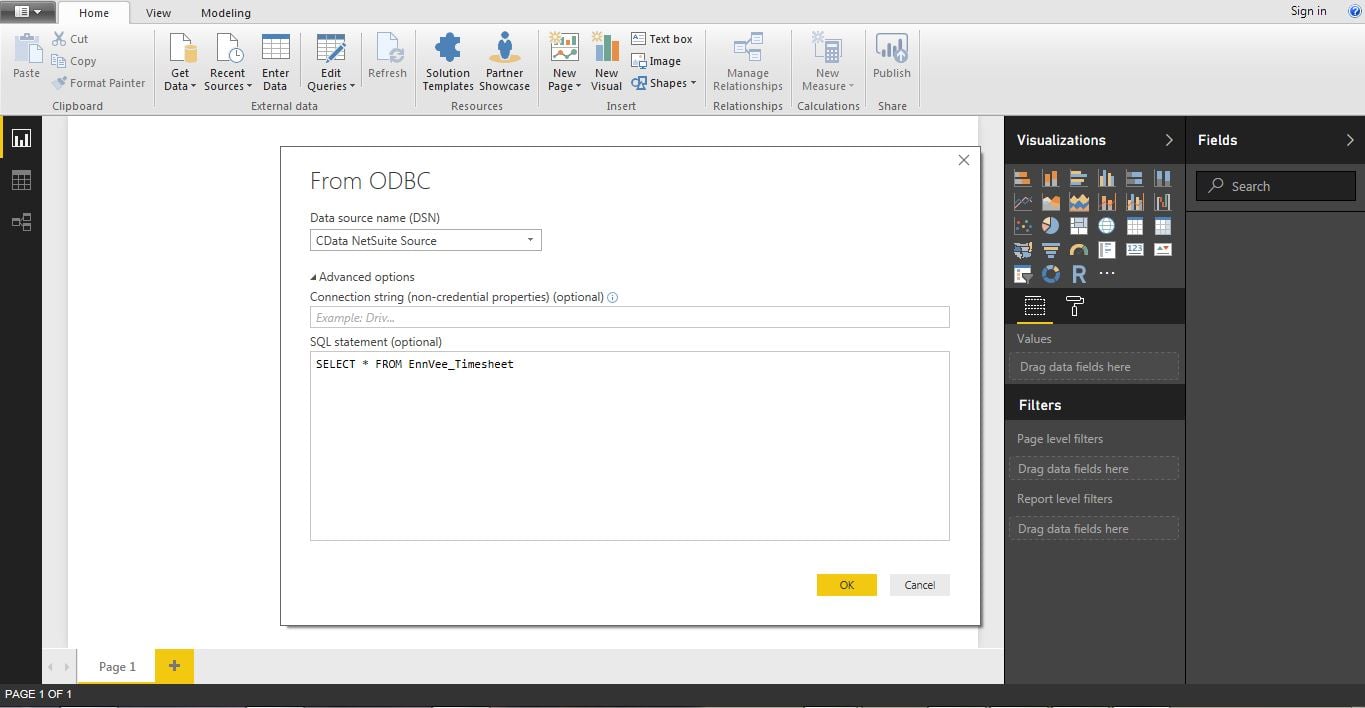
If you know the SQL query you want to use to import, expand the Advanced Options node and enter the query in the SQL Statement box.
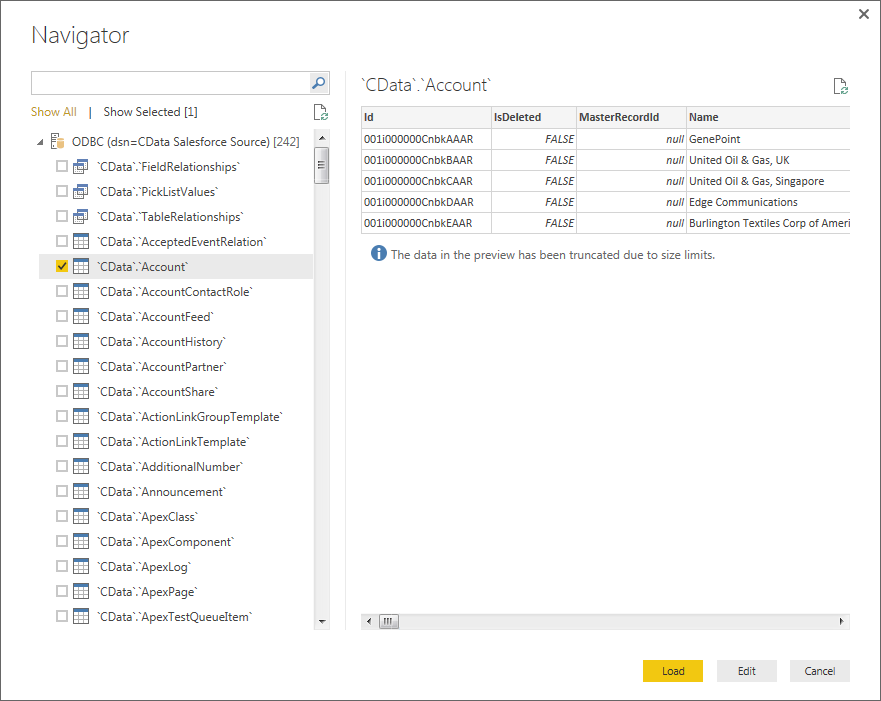
Step 3 — Select tables in the Navigator dialog.
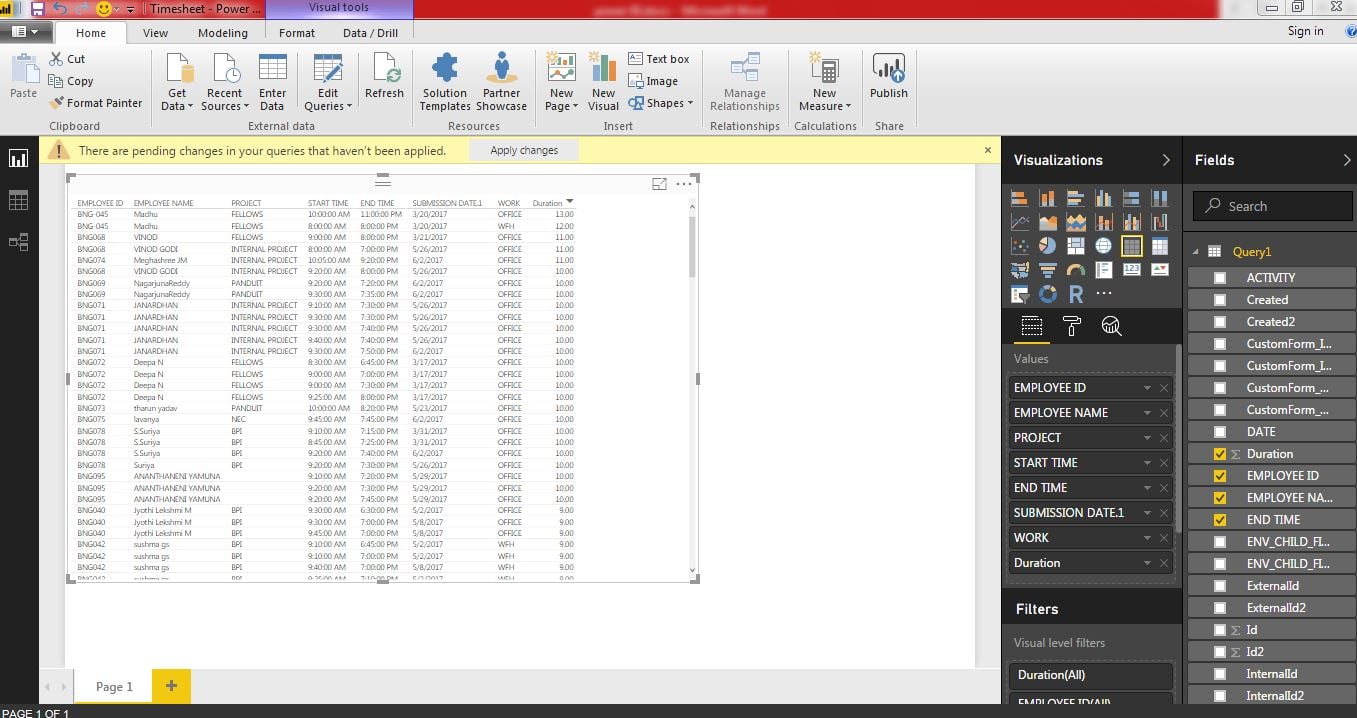
Step 4 — Click Edit to edit the query.
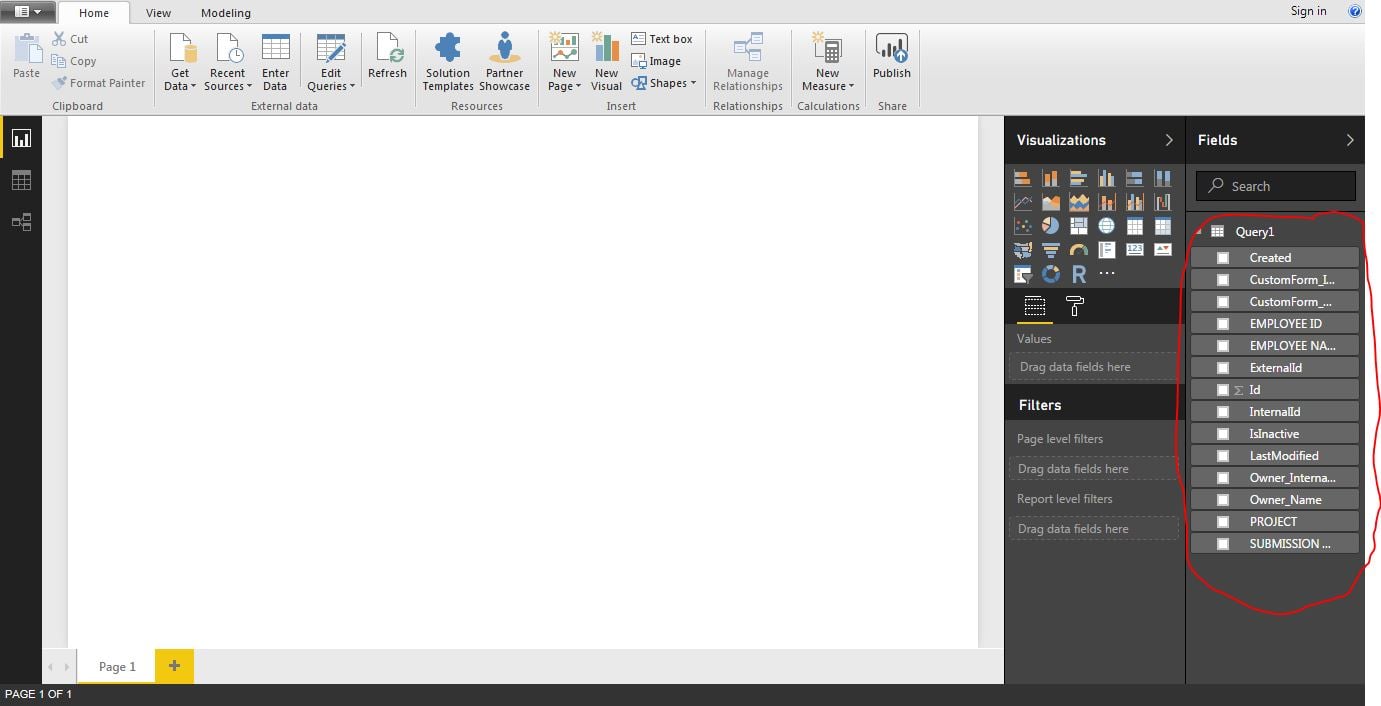
The table you imported is displayed in the Query Editor. In the Query Editor, you can enrich your local copy of NetSuite data with other data sources, pivot NetSuite columns, and more. Power BI detects each column's data type from the NetSuite metadata retrieved by the driver.
Power BI records your modifications to the query in the Applied Steps section, adjusting the underlying data retrieval query that is executed to the remote NetSuite data. When you click Close and Apply, Power BI executes the data retrieval query. Otherwise, click Load to pull the data into Power BI.

RELATED: Connecting NetSuite to Tableau via ODBC Driver
Check out our other NetSuite blogs for how-to guides, tips and other NetSuite solutions. Contact us to discuss your challenges.