The CData ODBC Driver 2016 for NetSuite is a versatile tool that allows you to connect with and access live data from NetSuite using the standard ODBC interfaces. The driver extracts the underlying data source into tables, views, and stored procedures that can be used to retrieve and update data.
Pre-Setup
Download the latest NetSuite ODBC Driver from the CDATA website:
https://www.cdata.com/drivers/netsuite/download/odbc/
The setup process can be viewed here: http://cdn.cdata.com/help/DNB/odbc/default.htm
The Getting Started section explains how to connect and create an ODBC DSN. The Using the ODBC Driver section describes how to use the ODBC driver in some of the popular applications that connect via ODBC.
Getting Started
Windows
The CData ODBC Driver for NetSuite 2016 is managed using Windows tools. Follow the steps described in Windows DSN Configuration to configure a DSN. Once a DSN is configured, you can use it from various tools on your machine or even on other machines within your domain.
The CData ODBC Driver for NetSuite 2016 is a standards-based ODBC driver for the Windows platform; it is managed using Windows tools. Follow the steps described in Windows DSN Configuration to configure a DSN. Once a DSN is configured, you can use it from various tools on your machine or even on other machines within your domain.
The driver leverages NetSuite Web services to enable you to access any entity in your NetSuite account in real time. The driver supports versions 2011-2015 of the NetSuite SOAP APIs. The driver models NetSuite entities, transactions, custom records, and lists in these APIs as bidirectional tables. Saved searches are modeled as read-only views. The driver also supports bulk inserts, updates, and deletes.
Windows DSN Configuration
The CData ODBC Driver for NetSuite 2016 can be configured using the ODBC Data Source Administrator. Once the driver is installed, you will see the CData NetSuite Source data source name listed under the User DSN tab of the ODBC Data Source Administrator.
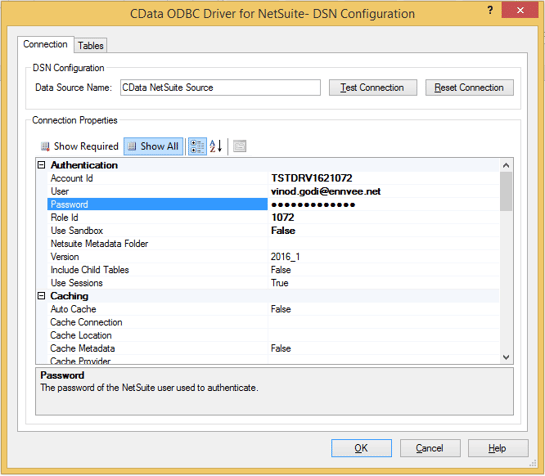
Select a DSN and click the Configure button to set connection properties in the driver configuration window.

The User and Password properties, located under the Authentication section, must be set to valid NetSuite user credentials. In addition, the Account ID and Application ID must be set to the ID of a company account that can be used by the specified User. The Role ID can be optionally specified to log in to the user with limited permissions.
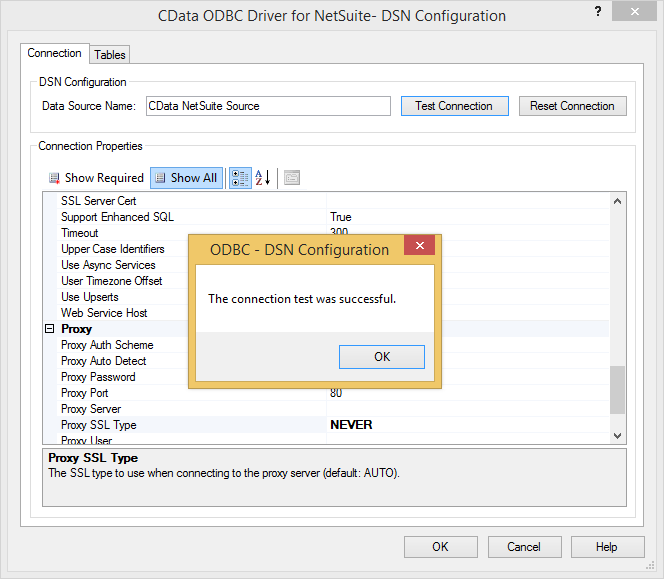
After providing the user and Password, we can test the connection by using Test Connection in the Authentication section.
The pop-up box will display the message "The connection test was successful".

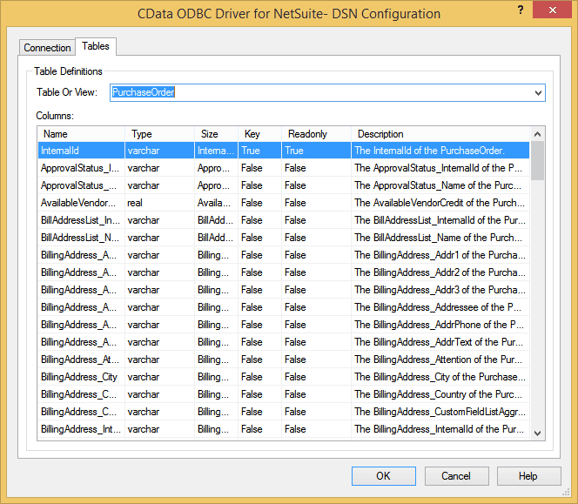
In the Tables Section, we can see the records from NetSuite:

Check out our other NetSuite blogs for how-to guides and tips. Explore ennVee's integration services for NetSuite.
